

EnginFrame
This site is discontinued.
Please go to SCDA-guide.oist.jp
Link to EF portal: https://hpcframe.oist.jp
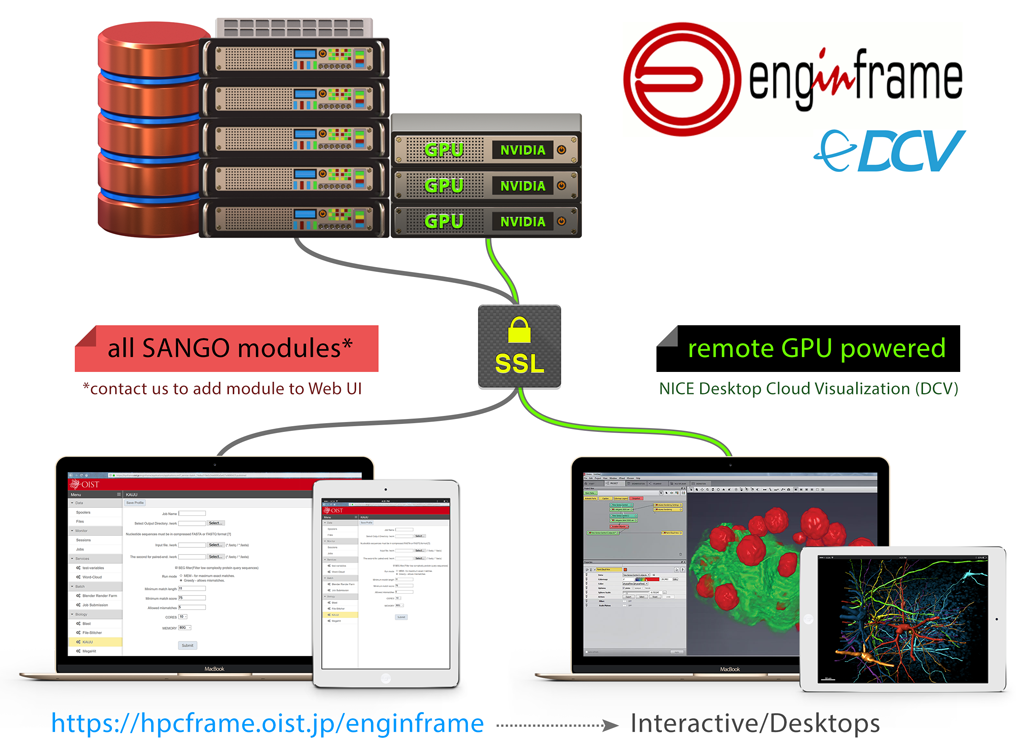
EnginFrame (EF) is an advanced HPC portal which allows user to run the jobs on the cluster via web browser.
At first if you haven't done that already, please, Apply to HPC Open Resources.
Contact us, if you would like to update an existing service.
Batch services
Running these services is similar to running sbatch *.slurm script but via web browser and secure SSL connection.
How it works:
Pick the service, marked with ![]() . That icon stands for batch service.
. That icon stands for batch service.
In the service view set your input data and if you want, save this input to a new profile, by clicking ![]()
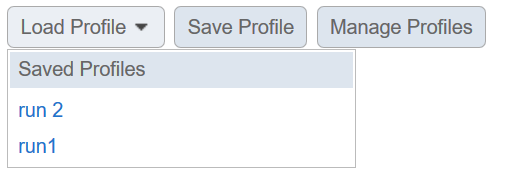
If you already have saved a profile, you can load it by clicking Load Profile and picking the one you need:
To Delete profiles, open Manage Profiles. You also can Share some profile data between saved profiles.
Once you are ready to submit the job – click Submit button. The page then will be updated, showing the job id and the status:

Sometimes the job may fail for some reason immediately after just started. To Check that, just refresh the web page by pressing F5 (or refresh page button of your browser)

If that’s the case – go to the output directory (you chose for this job) and locate files *.err, *.out and investigate the cause of the failure.
You also can browse all you currently running and past jobs by going to Jobs in the left menu:

Interactive services / Remote desktops
Desktop Cloud Visualization(DCV)
- Unleash the power of the remote GPU nodes and work on your data interactively on your laptop from anywhere in OIST.
- share and collaborate with your colleagues working on the same data at the same time.
To apply, please send us a request to access the restricted resource (DCV) on our registration and forms page.
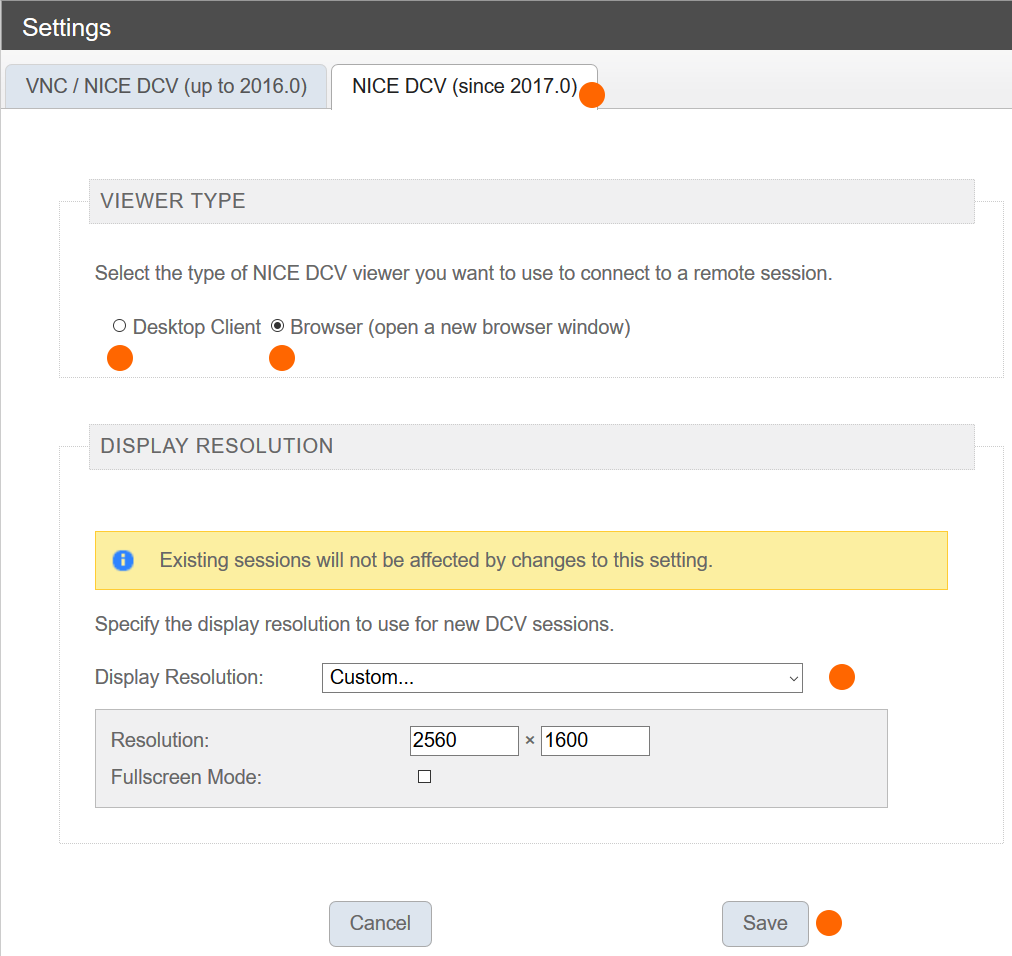
Before you start the interactive session, in the top right corner, locate Settings:

Got to the NICE DCV (since 2017.0) Tab. Select the Viewer type. For windows and Linux users we suggest that you use the desktop client that can be downloaded from the NICE software repository or from AWS NICE Software. Mac users should use the browser client (with HTML5 support). The browser client works fine for the other systems as well.
Select the default resolution for your remote sessions and save.
There are Linux OS and Windows OS remote desktops.
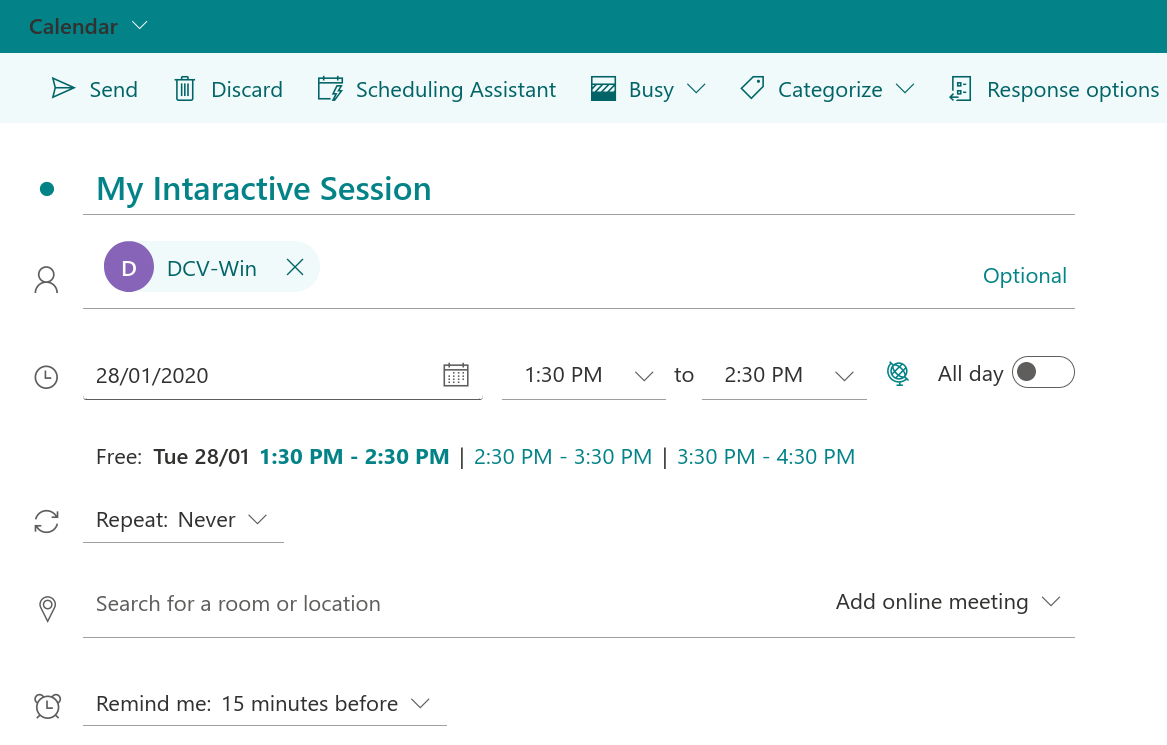
For Windows Remote Desktop via DCV only, please reserve the corresponded workstation dcv-win@oist.jp for dcv-win01 & dcv-win02@oist.jp for dcv-win02 via outlook calendar before launching the service.
For Imaris/Amira DCV, select Windows Remote Desktop. (the service description is on ServiceNow)
For Linux Remote Desktop via DCV, just launch the session and it will start as soon as the first machine with GPU becomes available. We suggest XFCE desktop because it is very flexible and can be adjusted to look similar to Windows desktop or to Mac OS desktop
To start an interactive session, pick the one from the left menu and press Launch Session.
If your session starts in the browser, the new tab will be opened (make sure you allow that in your browser); if your session starts in the desktop client, then EF sends you the file which you should Open with… the DCV Desktop client which you downloaded. (Win & Linux only)
The list of all sessions can be accessed via the Monitor->Sessions in the left menu:

To Share this session with any of your collaborators (who also must have the access to DCV restricted resource) click Not Shared. In the window that appears, start typing the persons name in Collaborators (to provide controls to your session) or in Viewers (just for observing your session):

The Cursor Fix on DCV Remote Windows
To make the cursor to be responsive to the windows borders, please follow the steps below:
1. Open settings

2. In the search field start typeing "ease"
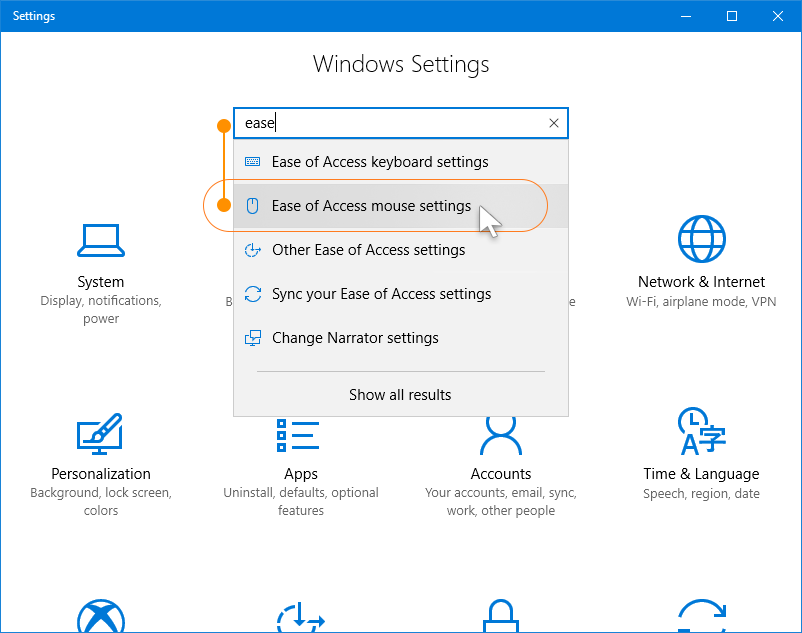
3. Locate “Ease of Access mouse settings” in the appeared list
4. Turn Mouse Keys On

DCV Remote Windows: no mouse controls?
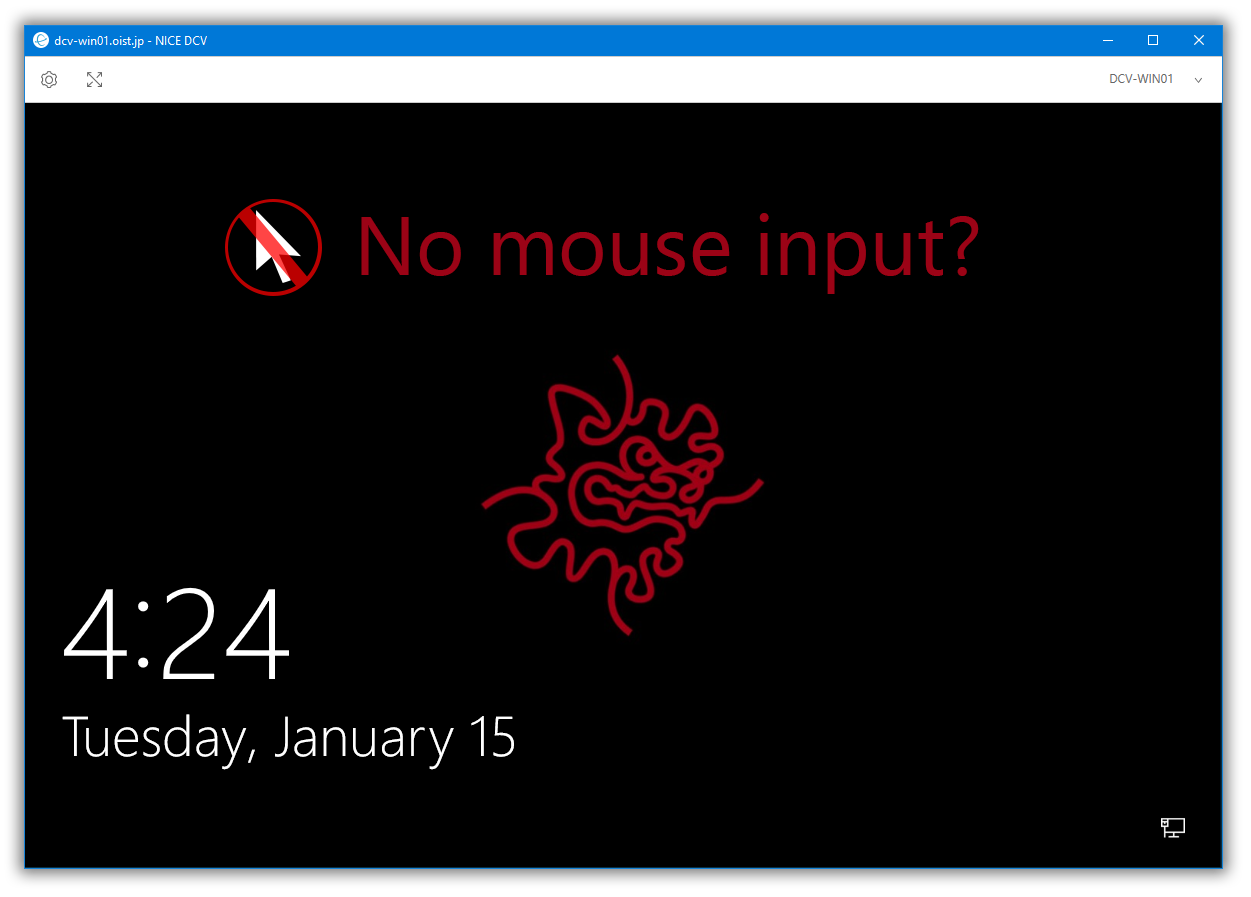
1. Closing this window above, just closes our interactive view but not the session.
2. Open EnginFrame portal and select menu item 'Monitor: Sessions' in the left.
3. Select our running Windows Remote Desktop session and click on 'View Details'
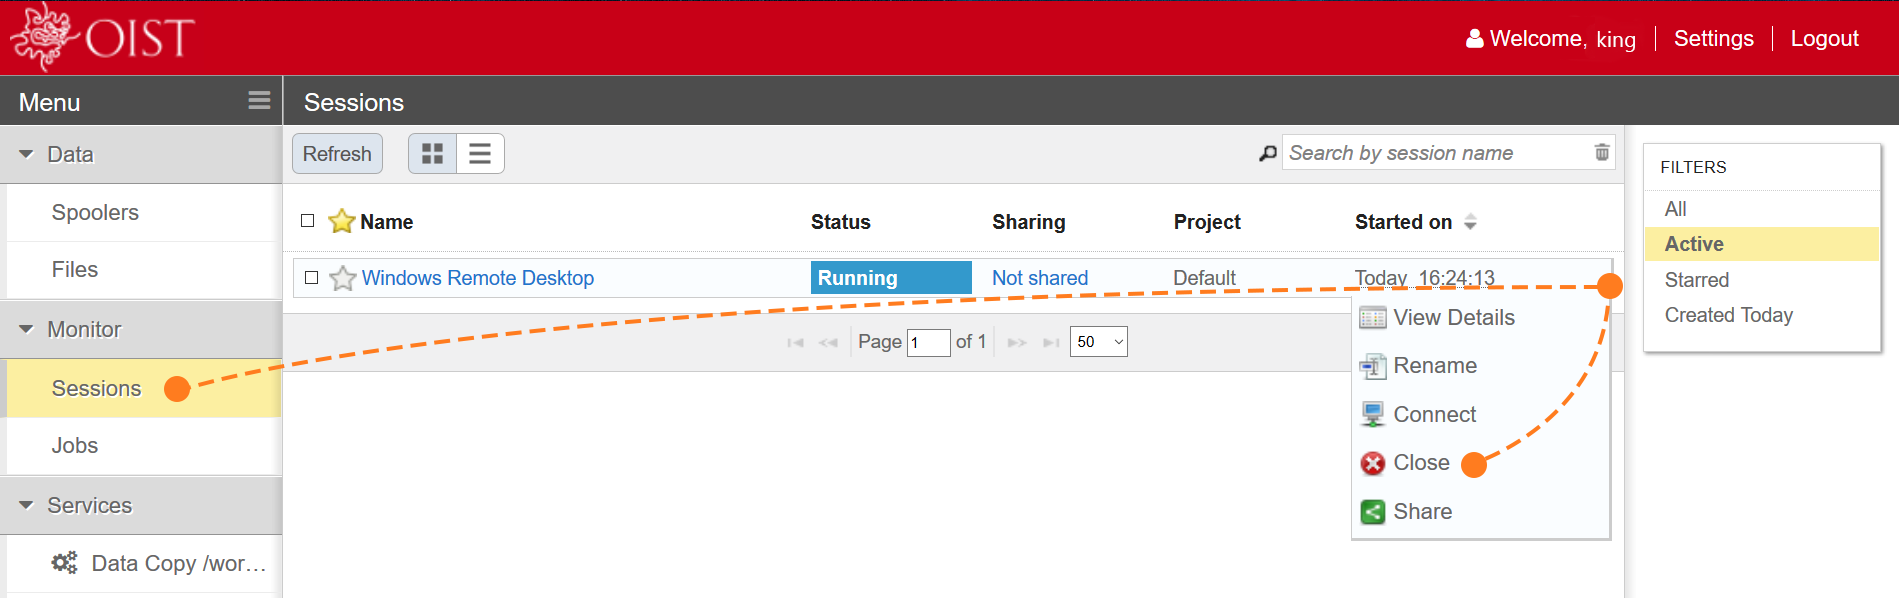
4. Click 'Connect'. The view client will reconnect to the session. Let's see if it the issue with controls is resolved.
5. If the issue wasn't resolved click 'Close'. That will close our session.
6. At this moment there is not need to change our dcv-win@oist.jp booking in outlook. The booking is still valid.
7. Wait for a minute or so to allow the remote machine to switch the session off.
8. Start a new Windows Remote Desktop session via EnginFrame portal:
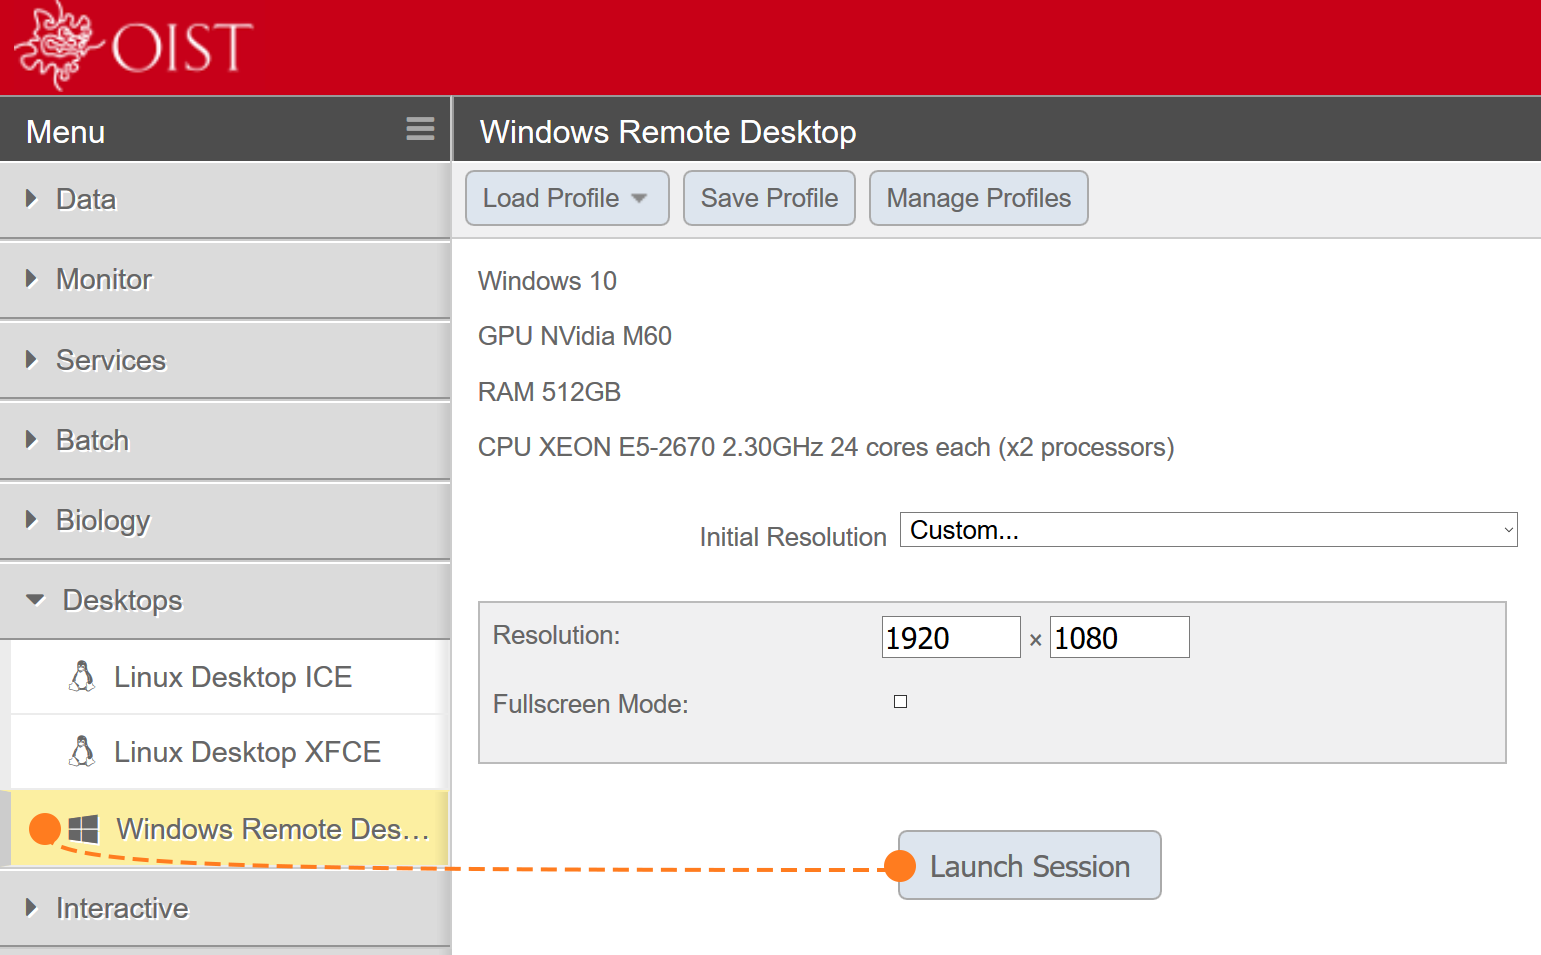
9. Now, we should be able to use controls and sign in.