Capsule VPN for Windows 10
Due to compatibility issues with the Endpoint VPN Application, Windows 10 users will need install the Capsule VPN app instead.
Table of Contents
Installation and Initial Setup
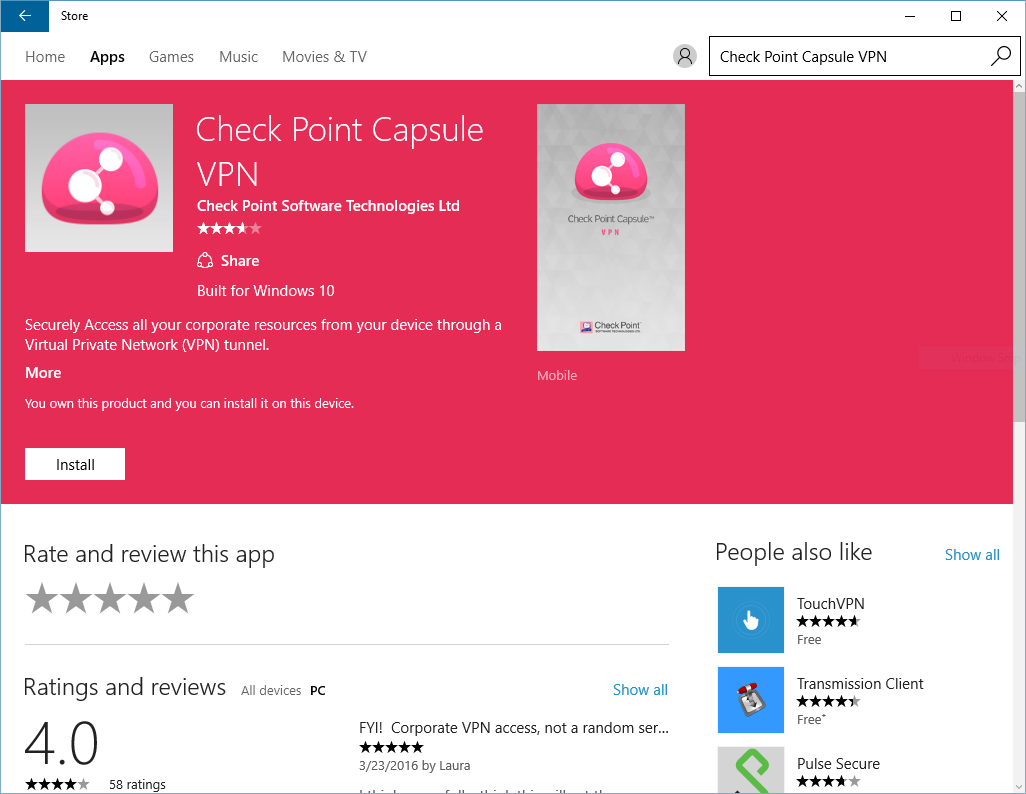
- Log in to the Windows Store with your OIST username followed by @oist.jp and password and install the Check Point Capsule VPN app.
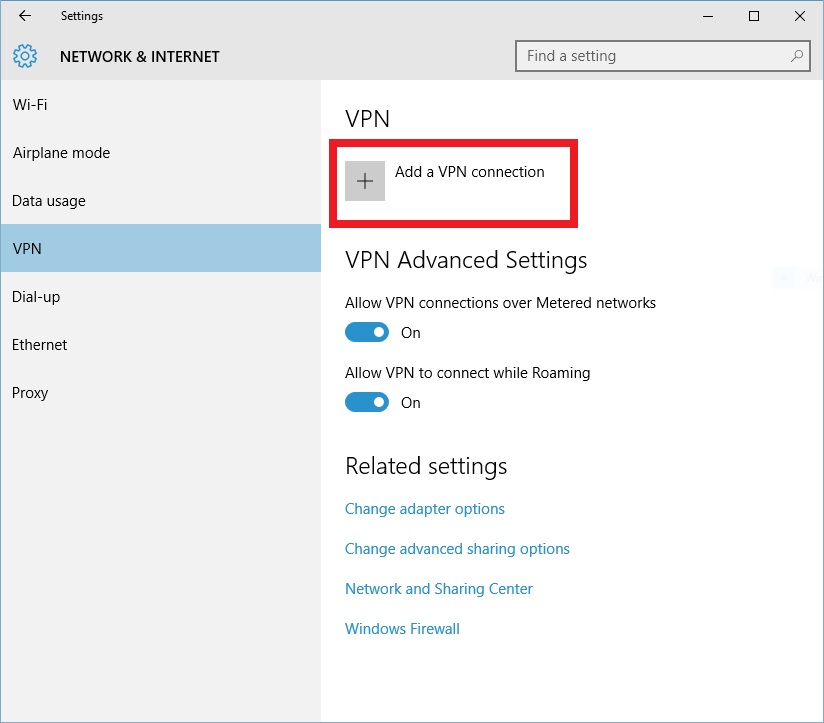
- Search VPN from the start menu to open Change virtual private networks (VPN)
(or open ⚙Settings, Network & Internet, VPN)

- Click Add a VPN Connection
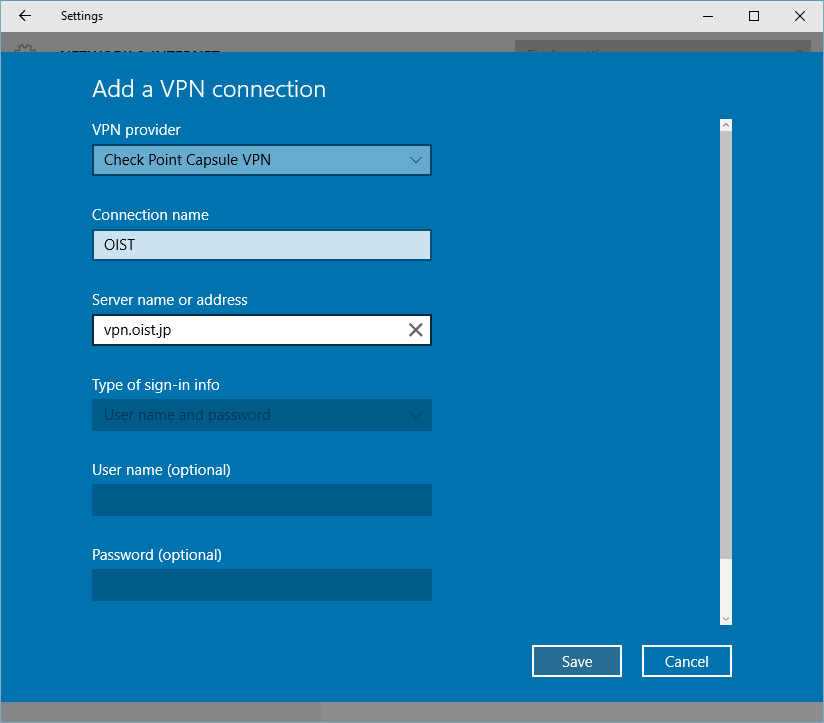
- Enter the following Information:
- VPN Provider: Check Point Capsule VPN
- Connection Name: Anything of your choice
- Server name or address: vpn.oist.jp
- Check Remember my sign-in info to save your username and password following the initial login.
Click Save once complete
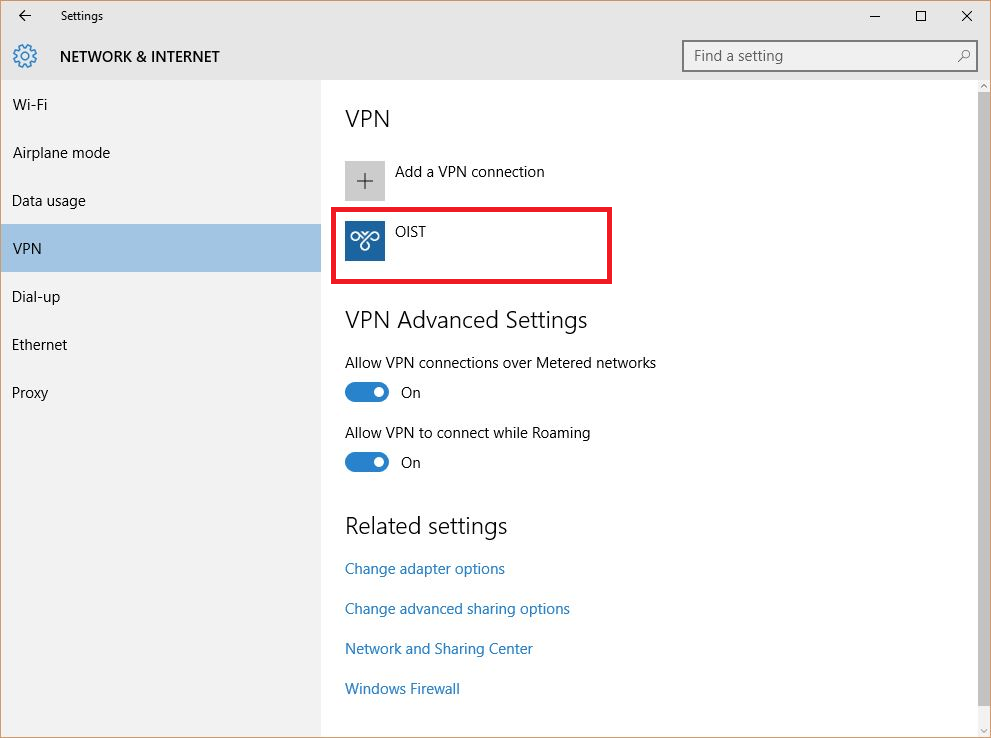
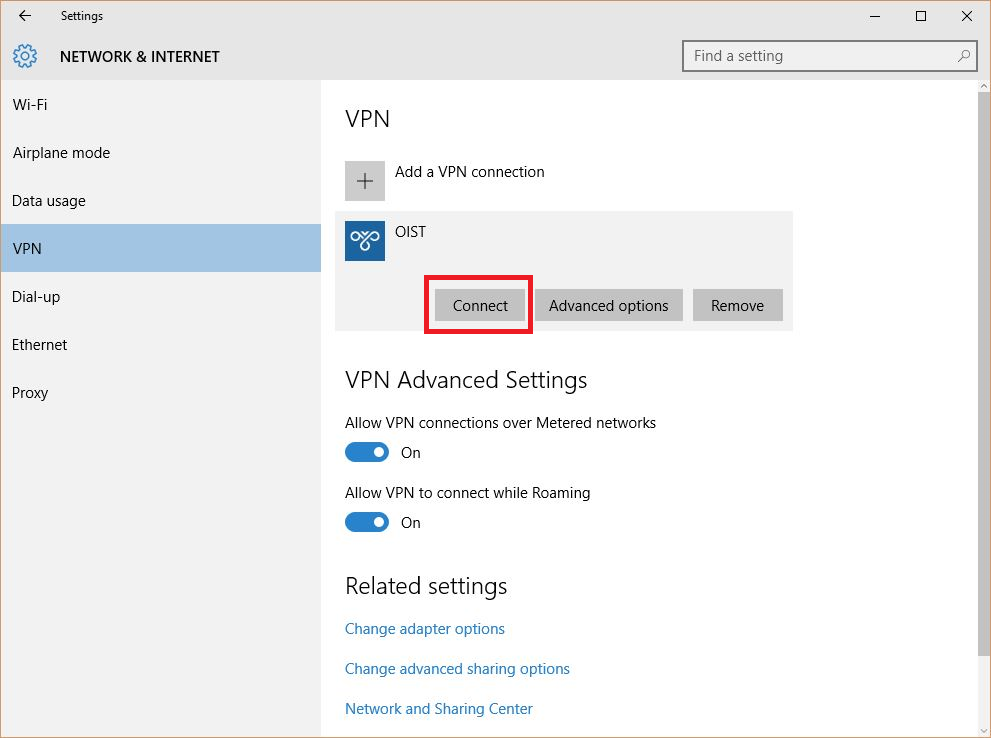
- Click on the VPN connection that you just created and then click Connect to test your connection.
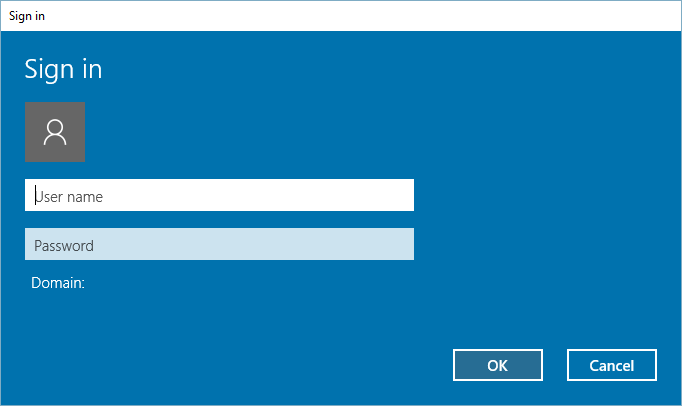
- Enter your OIST username and password. (Note: Entering oist\ or @oist.jp is not required)
Then, click OK.
(If you chose to save your username and password in the previous step, your credentials will now be saved.)
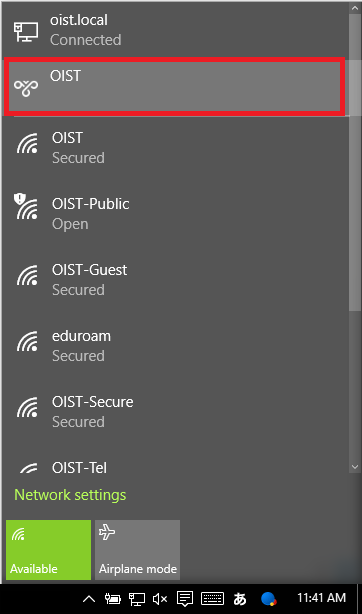
To Connect
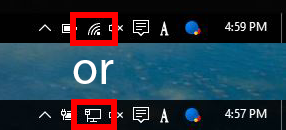
After creating the VPN connection, you can access the settings by clicking the network icon on the taskbar and clicking on the VPN connection that you created.
Then...